Adding Custom Model Credentials
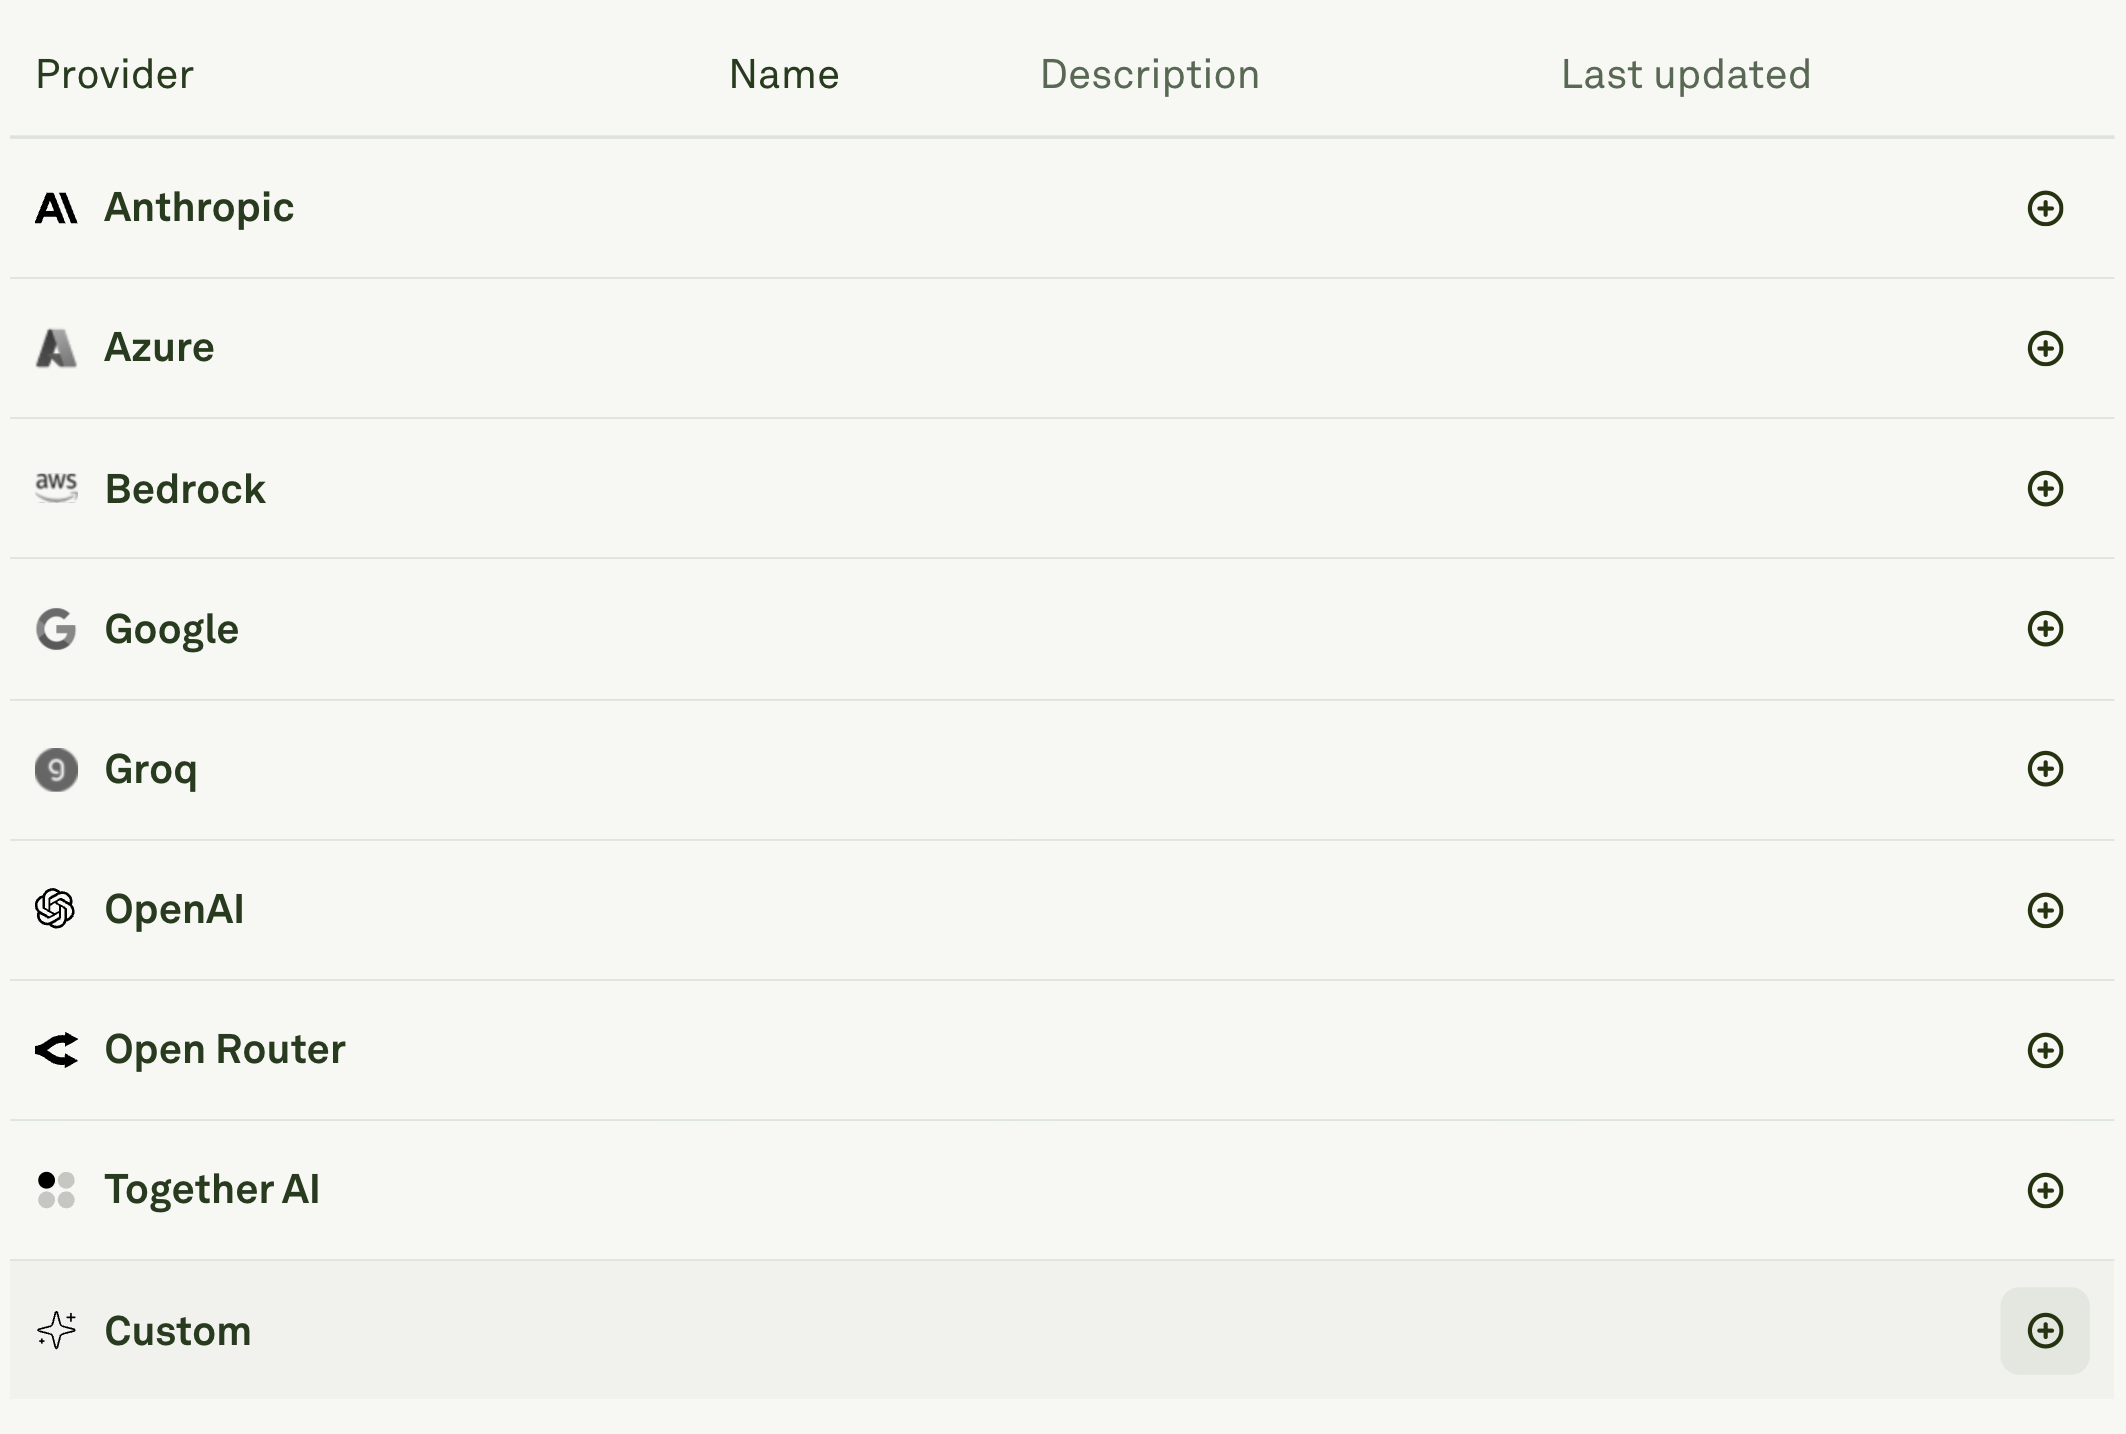
You can add Custom Model credentials by navigating to the Providers page under Settings.1
Configure Provider Name
Click on the plus (+) icon next to Custom.

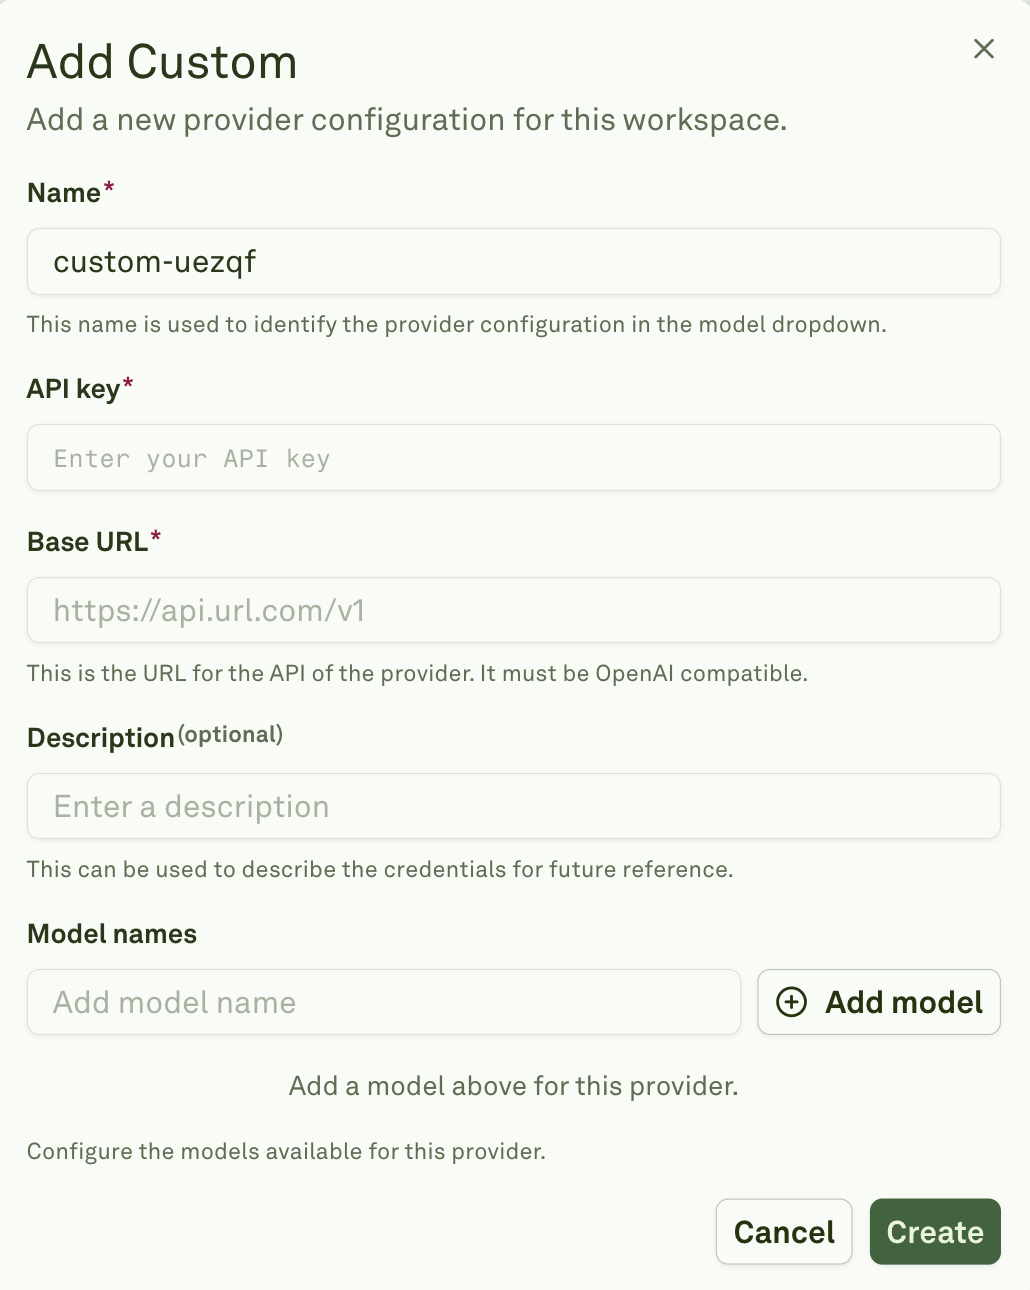
- Enter a unique Name for your custom provider configuration (e.g., “custom-uekut”).
- This name will be used to identify the provider configuration in model dropdowns throughout Adaline.
- The name appears as a prefix before each model name to help you distinguish between different custom providers.
2
Enter API Credentials and Base URL
Add your API key in the required field and specify the Base URL for your custom provider.

- Enter the complete API endpoint URL (e.g., “https://api.url.com/v1”).
- Optionally, add a Description to help identify the purpose of these credentials for future reference (e.g., “Internal company API” or “Self-hosted model”).
3
Configure Available Models
In the Model names section, click “Add model” to specify which models should be available from your custom provider.
- You’ll need to manually add each model name that your custom API supports.
- Continue adding model names for each additional model you want to access through this configuration.
4
Create and Save
Click “Create” to save your custom provider configuration.
- Once saved, the configured models will appear in model dropdown menus across Adaline.
- Your specified provider name will appear as a prefix before each model name.